
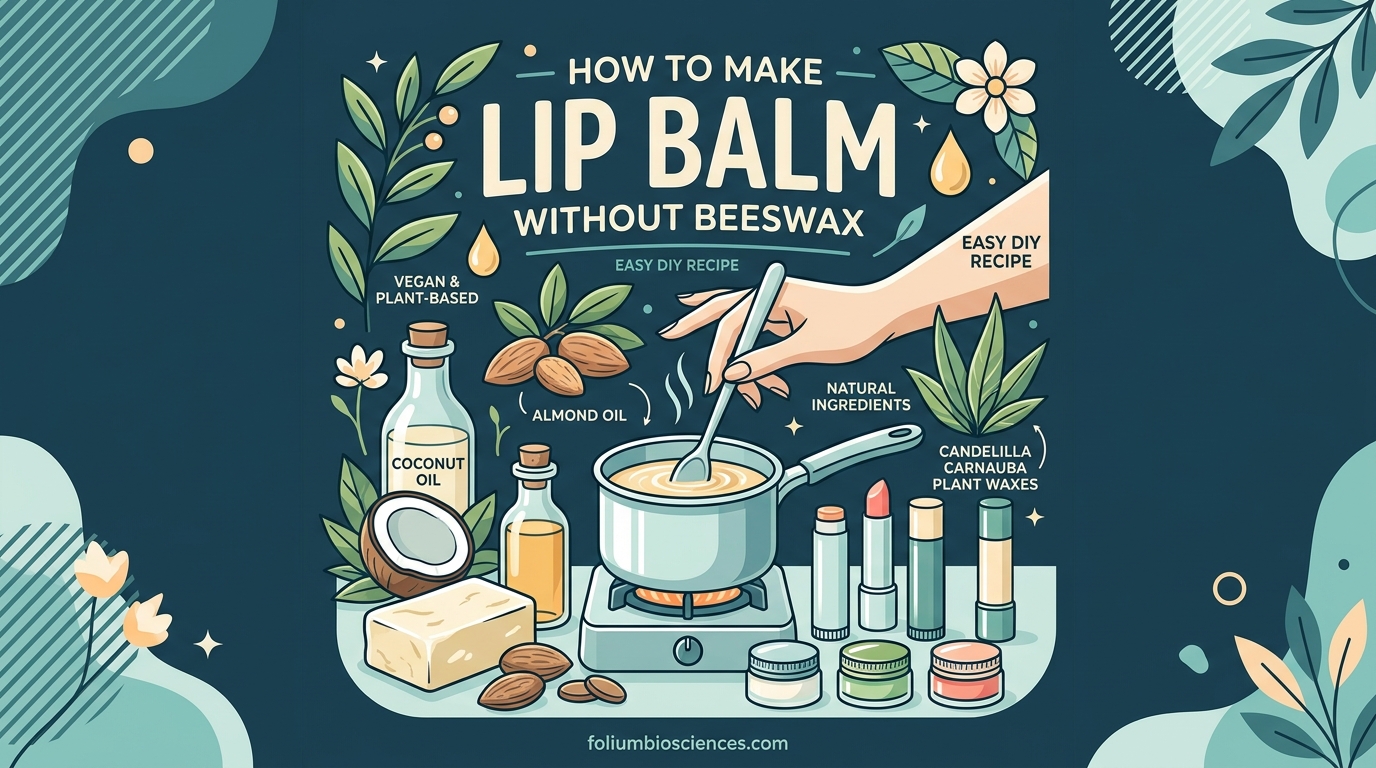
If you have been searching for how to make lip balm without beeswax, you are in the right place. I have tested dozens of vegan lip balm recipes over the years, and I am excited to share what actually works.
Traditional lip balms rely on beeswax to provide structure and protection. But if you follow a vegan lifestyle, have a bee allergy, or simply want to explore plant-based alternatives, there are excellent options available. The two most popular vegan waxes are candelilla wax and carnauba wax, and both create beautiful, moisturizing lip balms.
In this guide, I will walk you through everything you need to know to make your own vegan lip balm at home. You will learn the exact ingredients, step-by-step instructions, and troubleshooting tips that will guarantee success every time.
Table of Contents
Why Make the Switch to Vegan Lip Balm
Beeswax comes from honeybees, which means it is an animal product. Vegans and those following plant-based lifestyles often look for alternatives that provide the same protective barrier without animal ingredients. That is where candelilla wax and carnauba wax come in.
Candelilla wax comes from the leaves of the candelilla plant native to Mexico and the southwestern United States. It is plant-based, sustainable, and produces a harder lip balm than carnauba wax. Carnauba wax comes from the Brazilian palm tree and is the hardest natural wax available. Both create smooth, non-greasy formulas that protect your lips.
Beyond the ethical considerations, many people find that vegan lip balms feel lighter on the lips. They absorb more quickly while still providing excellent moisture retention. The combination of these plant-based waxes with nourishing carrier oils and butters creates a lip balm that rivals traditional formulations.
What You Need: Complete Ingredients List
Before you start, gathering all ingredients beforehand makes the process smooth and enjoyable. Here is what you need for a basic vegan lip balm recipe that makes approximately six standard lip balm tubes.
Base Ingredients
The foundation of any lip balm consists of wax, oil, and butter. For this recipe, you will need one part candelilla wax, three parts carrier oil, and one part butter. A typical batch uses fifteen grams of candelilla wax, forty-five grams of your chosen carrier oil, and fifteen grams of cocoa or mango butter.
For the carrier oil, sweet almond oil works wonderfully because it is lightweight and absorbs easily. Other excellent options include jojoba oil, which mimics your skin natural sebum, and fractionated coconut oil, which stays liquid at room temperature. I have also used olive oil with good results, though it has a slightly heavier feel.
For the butter portion, cocoa butter provides a rich, chocolate-like scent that pairs well with most essential oils. Mango butter offers a lighter texture and is great for sensitive skin. Shea butter works too, though it can make the final product slightly softer.
Wax-to-Oil Ratio Chart
Getting the ratio right is the most important factor in achieving the perfect consistency. Too much wax and your lip balm will be hard and waxy. Too little and it will be soft and greasy. Based on community-tested recipes, here is what works best.
For a firm lip balm that holds its shape in hot weather, use one part wax to two parts oil to one part butter. For a softer, more moisturizing balm ideal for dry climates, try one part wax to three parts oil to one part butter. If you want a super nourishing formula for extremely chapped lips, reduce the wax slightly and increase the butter.
Preservative and Flavor Additions
Vitamin E oil serves as a natural preservative and skin-conditioning agent. Use approximately 0.5 grams per batch. It extends the shelf life of your lip balm and adds skin-nourishing benefits. Do not skip this ingredient if you want your lip balm to last for several months.
For scent, essential oils are the way to go. Peppermint, lavender, and vanilla are popular choices. You need only five to ten drops per batch. Always use food-grade essential oils and follow proper dilution guidelines, which I will explain later.
Equipment You Will Need
You do not need expensive equipment to make lip balm at home. The double boiler method is the most reliable technique and requires only items you likely already own.
You will need two containers that nest together, a small heat-safe bowl or jar for the ingredients and a larger pot for the water bath. A kitchen scale is essential for measuring ingredients by weight, as volumetric measurements can be imprecise and lead to inconsistent results. I learned this the hard way my first several batches were either too soft or too hard.
For containers, you have several options. Lip balm tubes are convenient and mess-free, holding approximately 0.15 ounces each. Metal tins are reusable and eco-friendly, though they require more care when filling. Small glass jars work well for balm you apply with your finger. You can purchase these from craft supply stores or online retailers, and I recommend buying a few extra since your first attempts may not fill perfectly.
How to Make Lip Balm Without Beeswax: Step-by-Step
Now comes the fun part. Follow these steps carefully, and you will have beautiful vegan lip balm ready to use or gift.
Step 1: Prepare Your Workspace
Line up your empty containers on a flat surface with a piece of parchment or wax paper underneath. This catches any spills and makes cleanup much easier. Have all your ingredients measured and ready to add. Double-check that your containers are clean and dry before you begin.
Step 2: Create the Double Boiler
Fill your larger pot with approximately two inches of water and place it on your stove over medium-low heat. Place your heat-safe bowl or jar inside, ensuring it does not touch the bottom of the pot. The indirect heat will melt your ingredients gently without scorching.
Step 3: Melt the Wax and Butter
Add your candelilla wax and butter to the top container first. These take longer to melt than the oils. Stir occasionally with a disposable wooden stick or stainless steel utensil. Within five to seven minutes, you should see the wax and butter fully melted and combined.
Step 4: Add the Carrier Oil
Pour in your chosen carrier oil and stir thoroughly to combine. The mixture should appear clear and uniform. If you see any separation or cloudiness, continue stirring until it resolves.
Step 5: Remove from Heat and Add Extras
Once everything is fully melted and combined, carefully remove the top container from the double boiler. Allow it to cool for thirty seconds before adding vitamin E and your chosen essential oils. Stir gently but thoroughly.
Step 6: Pour Into Containers
Slowly pour the mixture into your prepared containers. Work quickly, as the mixture will begin thickening as it cools. Fill each container to just below the rim. Leave a small gap because the mixture will settle slightly as it hardens.
Step 7: Let It Set
Allow your lip balm to cool undisturbed at room temperature for one to two hours. Do not refrigerate it to speed up the process, as this can cause condensation and affect the texture. Once fully solid, your lip balm is ready to use.
Understanding Vegan Wax Alternatives
Choosing the right wax for your lip balm depends on your specific needs and preferences. Let me break down the two main options.
Candelilla Wax
Candelilla wax produces a firmer lip balm with a higher melting point. It creates a smooth, glossy finish and provides excellent protection against wind and cold. This wax comes from a shrub that grows in desert regions, making it a sustainable choice. The texture is less grainy than beeswax, and it absorbs into the skin more readily.
If you live in a warm climate or want a lip balm that will not melt in your car or pocket, candelilla wax is the better choice. You can typically find it in health food stores or online from cosmetic ingredient suppliers.
Carnauba Wax
Carnauba wax produces a slightly softer lip balm with a matte finish. It comes from the leaves of the Copernicia prunifera palm tree, which is native to Brazil. The wax is harvested sustainably and provides excellent emollient properties.
This wax works well if you prefer a more emollient, moisturizing feel. It is often combined with candelilla wax in commercial lip balms to balance firmness with glide. For a 100 percent plant-based approach, you can use carnauba wax alone or combine it with candelilla wax for custom properties.
Mixed Approach
Many experienced lip balm makers use a combination of both waxes. A typical ratio is three parts candelilla wax to one part carnauba wax. This combination creates a lip balm that is firm enough to hold its shape but soft enough to glide smoothly across your lips.
Adding Scent: Essential Oil Guidelines
Essential oils transform plain lip balm into a personalized experience. But using them safely requires understanding dilution rates and proper guidelines.
Safe Dilution Rates
The standard guideline for lip products is a maximum of one percent essential oil concentration. For a typical batch using forty-five grams of carrier oil, this means no more than twelve drops of essential oil total. Some oils are more potent than others, so start with fewer drops and adjust to your preference.
Popular Essential Oil Choices
Peppermint essential oil creates a cooling sensation that many people love in lip balms. Use six to eight drops per batch. Lavender offers a calming, slightly floral scent and is generally well-tolerated. Vanilla essential oil provides a sweet, comforting aroma but is more expensive. Sweet orange and lemon oils offer fresh, uplifting scents.
Oils to Avoid
Not all essential oils are safe for lips. Cinnamon, clove, and oregano oils can cause severe irritation. Wintergreen contains methyl salicylate, which can be problematic if ingested. Always research before adding any new essential oil to your lip balm recipe.
Alternative: Flavor Oils
If you want flavor without the safety concerns of essential oils, food-grade flavor oils are an excellent option. These are designed for consumption and provide strong, consistent flavor without irritation risks. Use the same dilution guidelines as for essential oils.
Recipe Variations and Customizations
Once you master the basic recipe, you can experiment with variations to suit your preferences and needs.
Three-Ingredient Simplified Recipe
If you want the simplest possible approach, try this three-ingredient recipe from community members who have tested it extensively. Use one tablespoon of carnauba wax, two tablespoons of cocoa butter, and one tablespoon of coconut oil. Melt, combine, and pour as described above. The result is a soft, highly moisturizing lip balm that works especially well for night use.
Tinted Lip Balm
Add a pinch of natural color to your lip balm for a subtle tint. Mica powder works well and is available in various shades. Use a toothpick to add a tiny amount and stir thoroughly before pouring. Be conservative with the amount, as a little goes a long way.
For a pink tint, try beet root powder. For a natural brownish tint, use cocoa powder. These natural colorants are safe and add visual interest without complexity.
Extra Nourishing Formula
For extremely dry or chapped lips, add extra butters and oils. Use half candelilla wax, quarter carnauba wax, and increase your butter portion by 50 percent. You can also add a few drops of rose hip oil or sea buckthorn oil for additional skin benefits, though these will affect the final color.
Choosing the Right Containers
Your container choice affects both the user experience and the environmental footprint of your lip balm.
Lip balm tubes are the most popular option because they are convenient and hygienic. They fit easily in pockets and bags, and the twist mechanism keeps the balm clean. Look for tubes made from recycled plastic or bio-based materials if sustainability is important to you.
Metal tins are an excellent zero-waste option. They are durable, reusable, and create a premium feel. The tradeoff is that applying balm from a tin requires using your finger, which some people find less convenient.
Glass jars work well for a more luxurious balm that you apply with your fingertip. This style works particularly well for thick, butter-rich formulas. Small glass jars with tight-fitting lids also make wonderful gifts.
Troubleshooting Common Problems
Even with careful preparation, you may encounter issues. Here is how to fix the most common problems.
Lip Balm Too Soft
If your lip balm melts easily or feels greasy, you likely used too much oil or not enough wax. Next time, increase your wax portion by 10 to 15 percent. Also check that you measured ingredients accurately by weight rather than volume. Storing your lip balm in a cool location can help, but if it stays too soft, the recipe needs adjustment.
Lip Balm Too Hard
When your lip balm feels waxy or drags across your lips, you used too much wax. Reduce the wax portion by 10 to 15 percent in your next batch. Also make sure you are using the correct ratio of candelilla to carrier oil. Some users report success adding a few extra drops of carrier oil to restore balance.
Lip Balm Separating
If you notice oil pooling on top of your hardened lip balm, the ingredients did not combine properly. This usually happens when the mixture was heated too quickly or not stirred thoroughly. Try melting at a lower temperature and stirring more consistently. Adding a small amount of beeswax substitute or increasing the butter content can also help emulsification.
Grainy Texture
Gritty or grainy lip balm results from using butters that were not fully melted or properly incorporated. Melt all ingredients thoroughly and stir consistently while cooling. Using refined cocoa or mango butter rather than unrefined versions can reduce this issue since unrefined butters contain more particulate matter.
White Spots on Surface
Fat bloom, which appears as white spots or a dusty coating, happens when the butter separates and rises to the surface. This is purely cosmetic and does not affect the balm performance. To minimize bloom, cool your lip balm slowly at room temperature rather than quickly in the refrigerator.
Storage and Shelf Life
Proper storage keeps your lip balm fresh and effective for months.
Store your finished lip balms in a cool, dry place away from direct sunlight. Heat and light can degrade the oils and essential oils over time. A drawer, medicine cabinet, or closet works well.
Properly made and stored lip balm lasts approximately six to twelve months. The vitamin E acts as a natural preservative and extends shelf life. If you used fresh butters without added preservatives, aim to use your lip balm within three to four months for best quality.
If you notice any change in color, texture, or smell, it is best to discard the batch and make a fresh one. Natural ingredients do not include synthetic preservatives, so paying attention to freshness matters.
Frequently Asked Questions
How do you make vegan lip balm without beeswax?
To make vegan lip balm without beeswax, melt one part candelilla wax with one part cocoa or mango butter over a double boiler. Once melted, stir in three parts carrier oil such as sweet almond or jojoba oil. Remove from heat, add vitamin E and essential oils if desired, then pour into containers. Allow to cool and harden for one to two hours before using.
What can I use instead of beeswax in lip balm?
The best alternatives to beeswax for lip balm are candelilla wax and carnauba wax. Candelilla wax provides a firm, glossy finish and works well for warm climates. Carnauba wax creates a slightly softer, more matte finish. You can also use shea butter or cocoa butter alone, though these produce softer formulas that melt more easily.
Is candelilla wax better than carnauba wax for lip balm?
Neither wax is universally better. Candelilla wax creates a harder lip balm with a higher melting point, making it ideal for hot climates or if you prefer a firmer product. Carnauba wax produces a softer, more emollient balm that glides more smoothly. Many lip balm makers use a combination of both, typically three parts candelilla to one part carnauba for optimal balance.
Why is my homemade lip balm too soft?
Your lip balm is too soft because the ratio of wax to oil is too low. Increase the wax portion by 10 to 15 percent in your next batch. Also verify you are measuring ingredients by weight using a kitchen scale, as volumetric measurements often lead to inconsistent results. Storing the balm in a cool location can help if the recipe is borderline.
Can I make lip balm without any wax at all?
Yes, you can make lip balm without wax, though the result will be softer and more prone to melting. Cocoa butter alone can create a balm, but it will be quite soft. A better no-wax approach combines cocoa butter with coconut oil and a thick carrier oil. Use one part cocoa butter, one part coconut oil, and one part jojoba oil. Expect a product that feels more like a salve than a traditional lip balm.
Final Thoughts
Making lip balm at home without beeswax is simpler than you might think. With just a few plant-based ingredients and some basic equipment, you can create a customized lip balm that rivals anything you would buy in a store.
The process takes less than an hour from start to finish, and you control every ingredient that goes into it. Whether you follow a vegan lifestyle, have bee allergies, or simply want to explore natural alternatives, this recipe provides everything you need to succeed.
I encourage you to start with the basic recipe and then experiment with different oils, butters, and essential oils to create your perfect formula. Once you find a combination you love, you can scale up the recipe and make beautiful gifts for friends and family.
The knowledge you gain from making this basic lip balm opens the door to countless variations. You can add natural colorants for tinted balms, experiment with different scent combinations, or try different container styles. Each batch teaches you something new about the process and helps you refine your technique.
Now that you know how to make lip balm without beeswax, there is no reason to rely on commercial products with uncertain ingredients. Your lips deserve the care that comes from knowing exactly what you are applying. Start your first batch today and enjoy the satisfaction of making something truly beneficial with your own hands.