
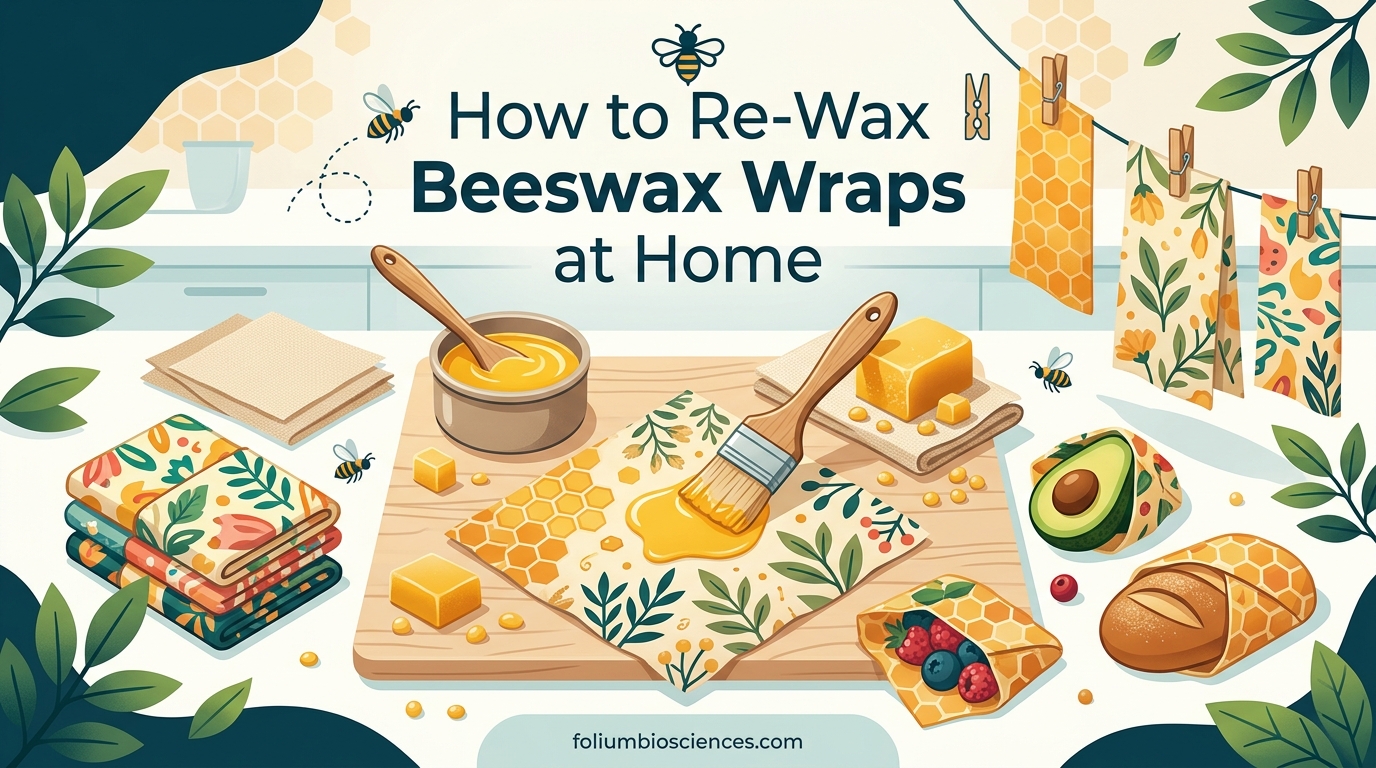
Your beeswax wraps started as a sustainable alternative to plastic wrap. After months of use, though, they have lost their grip. The corners will not seal, and the fabric feels dry instead of naturally adhesive. This is completely normal, and the good news is you do not need to throw them away.
Re-waxing beeswax wraps at home takes less than 20 minutes and costs only a few dollars in beeswax pellets. You can restore that satisfying stickiness and keep your wraps in rotation for another year or two. I have tested all three methods below with my own collection of wraps, and I will walk you through exactly what works.
Table of Contents
Why Do Beeswax Wraps Lose Their Stickiness?
Beeswax wraps work because the wax coating softens with the warmth of your hands. This allows the fabric to mold around bowls, produce, and containers to create a seal. Over time, the wax coating breaks down from regular use, exposure to air, and repeated washing.
Hot water is the main culprit for premature stickiness loss. When you wash beeswax wraps in water above 80 degrees Fahrenheit, the beeswax can melt and slide right off the cotton fabric. Even warm water over time contributes to gradual wax loss. The fabric becomes limper, the surface looks patchy, and the wraps simply will not hold their fold.
There is an important difference between reviving and re-waxing. Revival means remelting the existing wax to redistribute it across the fabric. Re-waxing means adding fresh beeswax to replenish what has worn away. Most wraps just need reviving. Only heavily used wraps with thin or uneven coating need actual re-waxing with new wax.
Three Methods to Restore Your Wraps
You have three solid options for bringing beeswax wraps back to life. Each has its strengths, and I will cover all of them in detail so you can choose what works best for your situation.
The oven method works best for wraps with overall diminished coating. The iron method gives you precision for spot treatments or smaller wraps. The hair dryer method is the quickest option for minor touch-ups. All three rely on the same principle: beeswax melts around 150 to 176 degrees Fahrenheit, and heat makes it fluid enough to spread and re-adhere.
How to Re-Wax Beeswax Wraps Using the Oven Method
The oven method is my top recommendation because it distributes heat evenly across the entire wrap surface. This is the most thorough way to revive multiple wraps at once or restore an entire wrap with an even coating.
Preheat your oven to 150 degrees Fahrenheit. If your oven runs cool, you may need to go up to 170 degrees. The goal is to get the interior to around 150 to 180 degrees Fahrenheit where beeswax softens but does not fully liquefy and pool.
Line a baking sheet with parchment paper. Place your wraps flat on the parchment, making sure they do not overlap. Overlapping prevents even heat distribution and can cause uneven wax pooling.
Bake the wraps for 3 to 5 minutes. Watch through the oven window. You want the wax to look shiny and slightly glossy, like the wrap is sweating. If you see wax pooling into corners or edges, the temperature is too high.
Remove the baking sheet carefully using oven mitts. Grab each wrap with clean hands and wave it gently in the air for 10 to 15 seconds. This cooling process helps the wax set evenly. Lay the wrap flat on a clean surface to finish cooling completely before folding or using.
Repeat the process if certain areas still look dry or patchy. Some wraps need two passes, especially older ones with very thin coating. Let the wrap cool completely between passes.
How to Re-Wax Beeswax Wraps Using the Iron Method
The iron method gives you more control, which makes it ideal for spot treatments, smaller wraps, or wraps with only certain areas that have lost their coating. You can target problem spots without heating the entire wrap.
Set your iron to the lowest heat setting. Synthetic or “polyester” setting works well because it stays under 200 degrees Fahrenheit. You need warmth, not heat.
Place the wrap on a heat-safe surface with a sheet of parchment paper on top. The parchment acts as a barrier between the iron and the beeswax. Without it, the iron will gum up with wax and create a mess.
Run the iron slowly over the wrap in circular motions. Apply gentle pressure. After 30 seconds to one minute of ironing, check the wrap. The wax should feel pliable and look slightly glossy under the parchment.
Press the parchment down firmly against the wrap to help distribute the wax evenly. You can also lift a corner to check coverage. If you see dry spots, continue ironing those areas until the wax has spread.
Peel back the parchment and let the wrap cool on a flat surface. The wrap will feel slightly stiff initially, but it becomes pliable again once it reaches room temperature and you fold it a few times.
The iron method takes more patience than the oven method, but it produces excellent results for targeted reviving. I use this method when I have a favorite wrap with one corner that will not seal.
Alternative: The Hair Dryer Method
The hair dryer method is the fastest option for minor touch-ups. It works best when your wrap has only lost stickiness in a few spots rather than across the entire surface.
Set your hair dryer to medium heat. High heat risks melting the wax too quickly and creating uneven patches. Hold the dryer about 6 inches above the wrap and move it constantly to avoid overheating any single spot.
As the wax warms, you will see the fabric become more pliable. Use your free hand to press the warmed wax into the fabric and smooth it across dry areas. The warmth from the dryer and your hands together redistribute the existing wax.
This method requires more manual effort because you are essentially massaging the wax back into the fabric while applying heat. It works surprisingly well for small wraps, snack bags, or wraps with minor patchy spots.
The hair dryer method does not work as well for large wraps or wraps with severely depleted coating. In those cases, the oven or iron method delivers more thorough results.
Adding Fresh Wax During the Refresh Process
If your wraps are extremely worn and reviving alone does not restore enough coating, you can add fresh beeswax during the process. This takes the restoration a step further and essentially creates a new beeswax coating.
Purchase pure beeswax pellets or shavings. You need about one to two tablespoons of beeswax per large wrap. Grate or crush the wax into small pieces so it melts evenly.
For the oven method, sprinkle the beeswax shavings evenly across the wrap before heating. As the oven warms the wrap, the fresh wax melts and blends with the existing coating. This adds richness and thickness to the wax layer.
For the iron method, place the wax shavings on the dry spots, lay parchment over the wrap, and iron as normal. The heat melts the fresh wax into the fabric alongside the existing coating.
Be conservative with the amount of wax you add. You can always add more in a second round if needed. Too much wax makes the wrap heavy and less pliable, which defeats the purpose of having a moldable food wrap.
Care Tips to Extend the Life of Your Beeswax Wraps
Proper care keeps your wraps sticky longer and reduces how often you need to revive them. A few simple habits make a significant difference.
Wash your wraps in cool or lukewarm water only. Hot water melts the beeswax and accelerates wear. Use a mild dish soap and your hands, not a scrubber or sponge that could damage the fabric. Pat dry with a clean towel or air dry.
Store wraps flat or loosely rolled, never crumpled in a drawer. Folding and creasing repeatedly cracks the wax coating along the fold lines. A dedicated container or drawer keeps them in better shape.
Avoid using wraps for raw meat unless you are comfortable with the sanitation level. Wrap only produce, cheese, bread, and covered bowls. These uses do not require washing as frequently, which extends the wax coating life.
Keep wraps away from direct heat sources like stoves, radiators, or sunny windowsills. Consistent warmth breaks down the wax faster. Room temperature storage is ideal.
With proper care, a quality beeswax wrap lasts 12 to 18 months before needing replacement. Regular reviving can extend that by another year or more.
When It Is Time to Replace Your Wraps
Sometimes reviving will not work, and replacement becomes necessary. Knowing when to retire your wraps prevents frustration and ensures you always have functional alternatives to plastic.
If the fabric itself is fraying, tearing, or has holes, the wrap has reached the end of its useful life. The wax coating cannot adhere properly to damaged fabric, and no amount of reviving will fix structural issues.
When you notice a persistent mildew smell even after washing and thorough drying, the fabric has absorbed too much moisture over time. This happens when wraps are stored damp or used for produce that creates condensation.
If the wax coating flakes off in large pieces even after proper reviving, the bond between wax and fabric has broken down entirely. This typically happens after repeated washing in water that was too hot or years of heavy use.
Beeswax wraps are fully compostable at the end of their life. Cut the fabric into small pieces and add it to your compost pile. The cotton and beeswax break down naturally within a few months.
Frequently Asked Questions
How to make beeswax wraps sticky again?
You can make beeswax wraps sticky again by applying heat to remelt and redistribute the beeswax. The oven method at 150 to 180 degrees Fahrenheit for 3 to 5 minutes is most effective, or use an iron on low heat with parchment paper as a barrier.
Can you re-wax beeswax wraps?
Yes, you can re-wax beeswax wraps at home. Simple reviving redistributes the existing wax coating, but you can also add fresh beeswax pellets during the process if your wraps need additional coating to restore their effectiveness.
How to rejuvenate a beeswax wrap?
To rejuvenate a beeswax wrap, place it on parchment paper in an oven preheated to 150 to 180 degrees Fahrenheit. Heat for 3 to 5 minutes until the wax looks glossy and pliable, then wave gently in the air to cool and set evenly.
Why is my beeswax wrap not sticky?
Beeswax wraps lose stickiness over time from repeated use, washing in hot water, and natural degradation of the wax coating. The warmth from your hands activates the wax to create a seal, so when the coating becomes thin or patchy, the wrap will not hold its fold.
Why are my beeswax wraps crumbling?
Wraps crumble when the beeswax coating has degraded significantly or washed off entirely. This often happens from washing in water that is too hot or years of heavy use. Once crumbling starts, reviving with heat may help temporarily, but severely degraded wraps should be composted and replaced.
Final Thoughts on Re-Waxing Beeswax Wraps
Re-waxing beeswax wraps at home is one of the simplest maintenance tasks you can do for your sustainable kitchen. The oven method takes just a few minutes and brings your wraps back to like-new condition without any special equipment.
Regularly reviving your wraps extends their life significantly, which means fewer wraps heading to the compost pile and less money spent on replacements. It also keeps reusable wraps in rotation instead of defaulting to single-use plastic wrap.
Give your wraps a refresh this weekend. Your wallet and the environment will thank you.