
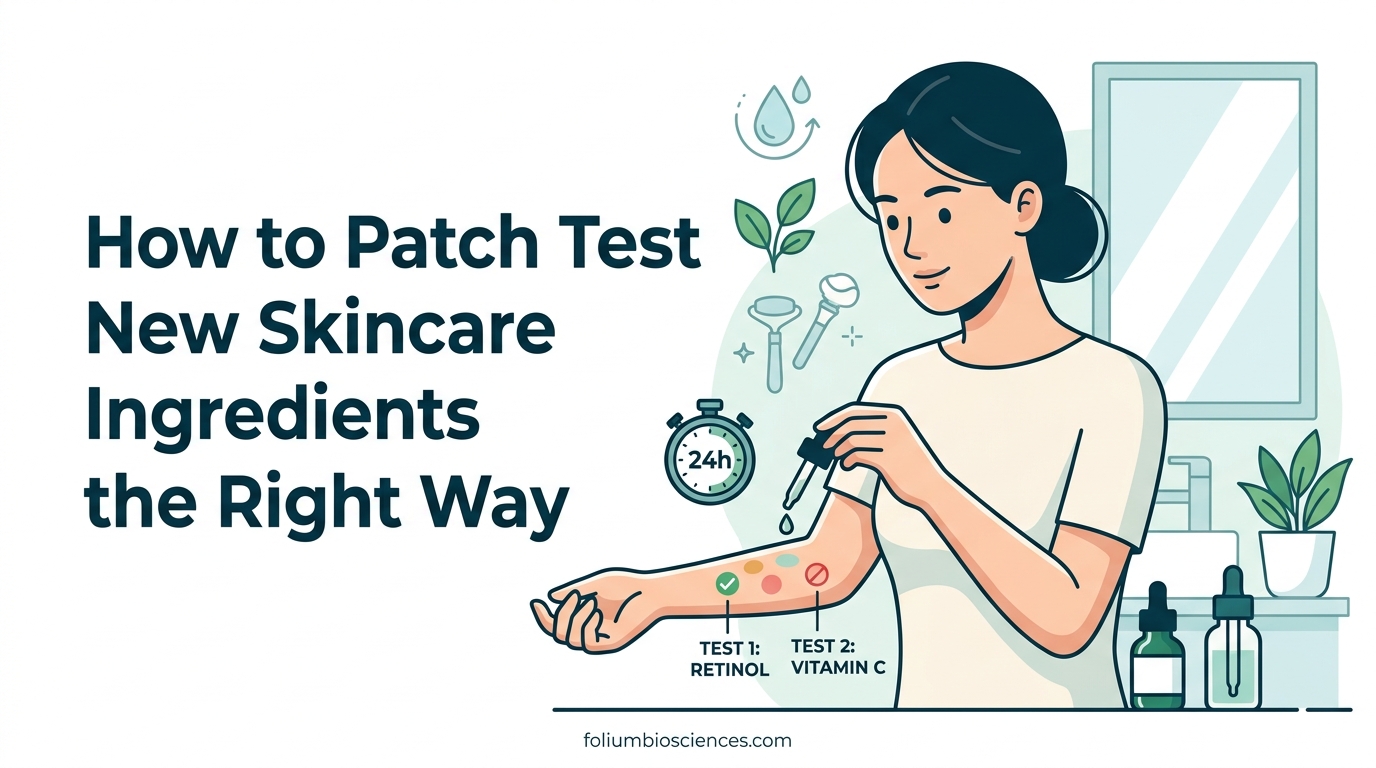
Every year, millions of people develop contact dermatitis from skincare products they assumed were safe. I learned this the hard way after slathering a new vitamin C serum across my entire face and spending the next three days dealing with red, burning skin. That experience sent me down a rabbit hole to figure out exactly how to patch test new skincare ingredients the right way.
In this guide, I will walk you through the complete patch testing process, from choosing the right spot on your body to interpreting what your skin is telling you. Whether you are trying a new retinol, an AHA exfoliant, or a basic moisturizer, this method can save you from painful and expensive reactions.
Patch testing is not complicated, but most people skip it or do it incorrectly. I have spent hours reading dermatology guidelines from the American Academy of Dermatology (AAD), browsing skincare forums like r/SkincareAddiction, and testing the process myself to put together a method that actually works. Here is everything you need to know.
Table of Contents
What Is Patch Testing and Why Does It Matter?
Patch testing is a simple at-home procedure where you apply a small amount of a new skincare product to a discreet area of skin and watch for any adverse reaction over several days. The American Academy of Dermatology recommends this step before introducing any new product into your routine, yet most people skip it entirely.
The goal is straightforward: catch a bad reaction on a tiny patch of skin instead of finding out the hard way across your whole face. Patch testing helps identify two main types of contact dermatitis, and understanding the difference between them matters for how you respond.
Irritant contact dermatitis (ICD) is the more common type. It happens when a product directly damages your skin barrier. Think of it like a chemical burn on a microscopic level. Strong acids, high-concentration retinoids, and harsh cleansers can all trigger ICD. The reaction usually shows up quickly, within hours, and happens to almost anyone if the concentration is high enough.
Allergic contact dermatitis (ACD) is different. Your immune system overreacts to a specific ingredient, treating it as a threat. This type of reaction can take 48 to 96 hours to appear, which is exactly why short patch tests miss it. Fragrances, preservatives, and certain botanical extracts are among the most common culprits. Once you are sensitized to an allergen, your skin will react every time you encounter it, even at low concentrations.
According to the AAD, the best approach is to test for both types by applying the product twice daily for seven to ten days. This timeline catches delayed allergic reactions that a quick 24-hour test would completely miss.
How to Patch Test New Skincare Ingredients: Step-by-Step Guide
This is the exact method I use every time I introduce something new. It takes almost no effort, just patience. Follow these five steps and you will catch most reactions before they become a problem.
Step 1: Choose your test area. Pick a spot that will not be rubbed off by clothing or washed away during your normal routine. The inner forearm is the most popular choice because it is easy to see and generally has thinner, more reactive skin. If you are testing a face product, you can also try behind the ear or along the jawline. For body products, test on the area where you plan to use them.
Step 2: Apply a small amount. You do not need much. A pea-sized or quarter-sized amount is plenty. Apply it to clean, dry skin and let it absorb. Do not cover it with a bandage unless specifically directed, as occlusion can intensify reactions and give you a false reading.
Step 3: Follow product-type instructions. Different products require different testing approaches:
- Leave-on products (serums, moisturizers, oils): Apply and leave on as you normally would. Reapply twice daily.
- Rinse-off products (cleansers, shampoos): Apply, leave on for the time you would normally leave it, then rinse off. Repeat twice daily.
- Masks and peeling solutions (clay masks, AHA peels): Apply for the recommended duration, then remove. Test once every few days rather than daily, matching your actual usage pattern.
- Acne spot treatments: Apply to a small area on the inner arm and also to a small area near the jawline, since these products are designed for targeted use.
Step 4: Wait and observe for 7 to 10 days. This is where most people give up. The AAD specifically recommends this timeframe because allergic reactions can take up to four days to appear. Check the test spot at 24 hours, 48 hours, and again at the end of the testing period. Apply the product twice daily throughout, matching your intended usage frequency.
Step 5: Evaluate the results. If the test area looks exactly like the surrounding skin after ten days with no redness, itching, burning, or bumps, the product is likely safe for you to use. If you notice any changes, stop testing immediately and follow the reaction protocol below.
Where to Patch Test New Skincare Products on Your Body
The location you choose for patch testing matters more than most people realize. Different body areas have different skin thickness and sensitivity levels, which can affect how accurately the test predicts a facial reaction.
Inner forearm: This is the gold standard for most skincare users and the spot dermatologists commonly recommend. The skin is thin enough to react visibly but easy to monitor and photograph for comparison. It is also easy to avoid washing the area during daily activities.
Behind the ear: A great option for products you plan to use on your face, especially around the eyes or on the cheeks. The skin behind your ear is similar in sensitivity to facial skin. The downside is that it can be harder to see, and hair products might interfere with the test.
Side of the neck: Many skincare enthusiasts on r/SkincareAddiction recommend this area because it mimics facial skin more closely than the arm. Apply the product along the side of your neck where it will not rub against clothing.
Jawline: For face-specific products, testing along the jawline gives you the most accurate prediction of how your face will react. The skin texture and sensitivity closely match the rest of your face. Apply a small amount near the ear and monitor it carefully.
One important note from forum discussions: some users report that a product passes the arm test but causes problems on the face. This happens because facial skin is thinner and more reactive than arm skin. If you want the most accurate test, apply the product to both the inner forearm and the jawline.
How Long Should You Patch Test a New Skincare Product?
The short answer is 7 to 10 days, according to the American Academy of Dermatology. The longer answer depends on the type of product and your skin history.
Minimum 24 to 48 hours: This catches most irritant reactions. If a product burns, stings, or turns your skin red within the first day, you have your answer. However, a 48-hour test will completely miss delayed allergic reactions, so I never consider this sufficient on its own.
7 to 10 days (recommended): This is the AAD gold standard. It accounts for the delayed nature of allergic contact dermatitis, which can take anywhere from 48 to 96 hours to show up. By testing for a full week to ten days, you catch both immediate irritant reactions and delayed allergic responses.
Extended testing for active ingredients: Products containing retinol, glycolic acid, lactic acid, or other active exfoliants deserve extra caution. Some dermatologists recommend testing these for a full two weeks because initial tolerance does not always predict long-term tolerance. Redness and mild tingling are common during the first few days with retinoids and AHAs, and not necessarily a sign you should stop. The key is whether the reaction worsens over time or stays mild.
Reddit users in skincare communities frequently recommend a two-week minimum, especially for people with sensitive skin. I personally follow the two-week rule for anything with active ingredients and the one-week rule for basic moisturizers and gentle cleansers.
Signs of a Reaction to Watch For During a Patch Test
Knowing what to look for is just as important as doing the test itself. Here are the signs that your skin is reacting negatively, ranked from mild to severe.
Mild reactions: Slight redness that appears within the first few hours can indicate irritant contact dermatitis. This is common with strong active ingredients and does not always mean you need to avoid the product entirely. Pay attention to whether the redness fades or worsens over time. Mild, temporary tingling with acids is normal. Redness that persists or spreads is not.
Moderate reactions: Itching, noticeable swelling, or a raised rash at the test site are clear signals to stop using the product. These symptoms suggest either a stronger irritant reaction or the beginning of an allergic response. If the itching is severe enough to make you want to scratch, wash the product off immediately.
Severe reactions: Blistering, intense burning, spreading redness beyond the test area, or hives are signs of a significant allergic reaction. Remove the product right away, wash the area with cool water and a gentle cleanser, and do not reapply. If the reaction continues to spread or you develop swelling around the eyes or lips, seek medical attention.
Purging vs. reacting: One of the most confusing aspects of patch testing is distinguishing between purging and an actual adverse reaction. Purging happens when an active ingredient (like a chemical exfoliant or retinoid) accelerates cell turnover, causing temporary breakouts in areas where you already tend to get acne. Purging is localized to acne-prone areas and typically resolves within 4 to 6 weeks. A true allergic or irritant reaction causes redness, itching, swelling, or tiny bumps in areas where you do not normally break out.
On the patch test itself, purging should not occur because you are applying to a small, controlled area. If you see bumps, redness, or itching at the test site, that is a reaction, not purging.
What to Do If You Have a Reaction to a Patch Test
If your patch test reveals a reaction, here is exactly what to do. I have had to follow these steps more than once, and acting quickly makes a real difference in recovery time.
Step 1: Remove the product immediately. Wash the test area with cool or lukewarm water and a gentle, fragrance-free cleanser. Do not use hot water, which can worsen inflammation. Pat dry gently with a clean towel.
Step 2: Apply a cool compress. A clean washcloth soaked in cool water can reduce redness and swelling. Apply it for 10 to 15 minutes at a time, several times throughout the day. Avoid ice directly on the skin, as extreme cold can cause additional irritation.
Step 3: Soothe with a gentle moisturizer. Apply a simple, fragrance-free moisturizer to the area. Look for products with ceramides, glycerin, or colloidal oatmeal. Avoid anything with active ingredients, fragrances, or essential oils until the skin has fully healed.
Step 4: Do not reapply the product. This seems obvious, but some people try to retest the same product after a reaction subsides. If your skin reacted once, it will react again, possibly more severely the second time.
Step 5: Track the offending ingredient. Write down the full ingredient list of the product that caused the reaction. Compare it against ingredient lists of other products you have reacted to in the past. Over time, patterns emerge that help you identify your specific triggers. The most common culprits are fragrances, certain preservatives, and propylene glycol.
Common Skincare Ingredients That Cause Reactions Most Often
Some ingredients are far more likely to cause reactions than others. Knowing the usual suspects helps you read ingredient lists more effectively and narrow down what might be causing a problem.
Fragrances are the number one cause of allergic contact dermatitis in cosmetics. This includes both synthetic fragrances and natural essential oils. Even products labeled “unscented” may contain masking fragrances, so look specifically for “fragrance-free” on the label.
Preservatives are the second most common trigger. Formaldehyde-releasing preservatives like DMDM hydantoin, quaternium-15, and imidazolidinyl urea are frequent offenders. Methylisothiazolinone (MI) has been called the “contact allergen of the year” by dermatologists due to its high reaction rate.
Other common allergens include Balsam of Peru (a natural fragrance compound), propylene glycol (a humectant and solvent), certain dyes, and lanolin. Nickel contamination in some mineral-based pigments can also cause reactions in people with nickel sensitivity.
The 1% rule for skincare labeling: The FDA requires that cosmetic ingredients present at concentrations above 1% be listed in descending order of concentration. Ingredients at 1% or below can be listed in any order. This matters because an ingredient listed near the bottom might actually be present at a higher concentration than its position suggests. When you are trying to identify an allergen, focus on ingredients listed in the top five positions and any known allergens regardless of position.
If you have had multiple reactions and cannot pinpoint the cause, a board-certified dermatologist can perform comprehensive patch testing with a standardized panel of common allergens.
Patch Testing Tips for Sensitive and Reactive Skin
People with sensitive or reactive skin need a more careful approach to patch testing. First, let me clarify the difference because these terms are often used interchangeably but describe different things.
Sensitive skin is generally more reactive to environmental factors and products. It tends to be dry, easily flushed, and prone to stinging. Sensitive skin reacts to a wide range of stimuli, not just specific ingredients.
Reactive skin refers to skin that develops a measurable inflammatory response to specific triggers. This is more aligned with allergic or irritant contact dermatitis. You can have reactive skin without having generally sensitive skin.
If you fall into either category, here are adjustments I recommend making to the standard patch test process.
Extend the testing period to 14 days. Sensitive and reactive skin can exhibit delayed responses that the standard 7 to 10 day window might miss. Giving yourself a full two weeks provides a bigger safety margin.
Introduce one product at a time. Never patch test multiple new products simultaneously. If you react, you will not know which product caused it. Wait until one product passes its patch test before starting another.
Test at the concentration you plan to use. Diluting a product for the patch test does not give you accurate information about how your skin will handle the full-strength version. Test exactly as you intend to use it.
The 4-2-4 rule: This skincare concept refers to a cleansing method where you spend 4 minutes massaging a cleansing oil into dry skin, 2 minutes massaging a water-based cleanser onto the emulsified oil, and 4 minutes rinsing with lukewarm water. While this is a deep-cleansing technique rather than a patch testing method, it is worth knowing about because many people with sensitive skin experience irritation from aggressive cleansing routines. If you are patch testing a cleanser or cleansing oil, consider how it fits into your overall routine rather than testing it in isolation.
When to See a Dermatologist for a Skin Reaction
Most patch test reactions are mild and resolve on their own within a few days. However, some situations call for professional medical attention. Here is when to make an appointment.
Severe reactions that do not improve within 72 hours. If redness, swelling, or blistering persists or worsens after three days of stopping the product, see a dermatologist. You may need a topical steroid or prescription treatment to calm the inflammation.
Reactions that spread beyond the test area. A reaction that migrates away from the original application site suggests a systemic allergic response that needs professional evaluation.
Difficulty breathing, dizziness, or swelling of the throat. These are signs of anaphylaxis, which is a medical emergency. Call emergency services immediately. While rare from topical skincare products, it can happen with certain allergens.
Repeated unexplained reactions. If you keep reacting to different products and cannot identify the common ingredient, a dermatologist can perform formal patch testing. This involves applying standardized panels of common allergens to your back under medical supervision, usually over the course of a week. It is the most reliable way to identify exactly which ingredients your immune system is targeting.
Clinical patch testing typically tests for 30 to 80 common allergens and can pinpoint triggers that at-home testing cannot. If you have struggled with product reactions for months or years, this is absolutely worth doing.
FAQ
How to patch test a new skin care product?
Apply a small, quarter-sized amount of the product to a discreet area like your inner forearm or behind your ear. Apply it twice daily for 7 to 10 days. Watch for redness, itching, swelling, or burning at the test site. If no reaction occurs after the full testing period, the product is likely safe to use on your face or body. Leave-on products stay on the skin, while rinse-off products should be rinsed after the normal usage time.
What is the 4 2 4 rule in skincare?
The 4-2-4 rule is a cleansing method where you massage a cleansing oil into dry skin for 4 minutes, follow with a water-based cleanser for 2 minutes, and rinse with lukewarm water for 4 minutes. It is a deep-cleansing technique popular in Korean skincare routines, not a patch testing method. People with sensitive skin should approach this technique carefully, as prolonged cleansing can strip the skin barrier.
Where to patch test new skincare?
The inner forearm is the most commonly recommended spot because it is easy to see and generally has thinner, more reactive skin. Behind the ear works well for face products. The side of the neck and the jawline are also popular choices, especially among skincare enthusiasts, because these areas more closely mimic the sensitivity and texture of facial skin.
What is the 1% rule in skincare?
The 1% rule refers to an FDA labeling regulation for cosmetic ingredients. Ingredients present at concentrations above 1% must be listed in descending order on the ingredient label. Ingredients at 1% or below can be listed in any order after that. This means an ingredient near the bottom of the list might actually be present at a higher concentration than its position suggests, which matters when you are trying to identify potential allergens.
Key Takeaways for Patch Testing New Skincare Ingredients
Learning how to patch test new skincare ingredients the right way is one of the simplest things you can do to protect your skin. Apply a small amount to your inner forearm twice daily for 7 to 10 days, watch for redness, itching, or swelling, and never skip this step for products with active ingredients like retinol or AHAs.
The few minutes it takes to patch test can save you from days or weeks of dealing with a painful reaction. Be patient, test one product at a time, and remember that a product passing the arm test does not guarantee it will work perfectly on your face. When in doubt, test on the jawline as well.
Your skin is worth the extra effort. Start with your next new product and make patch testing a non-negotiable part of your skincare routine from now on.