
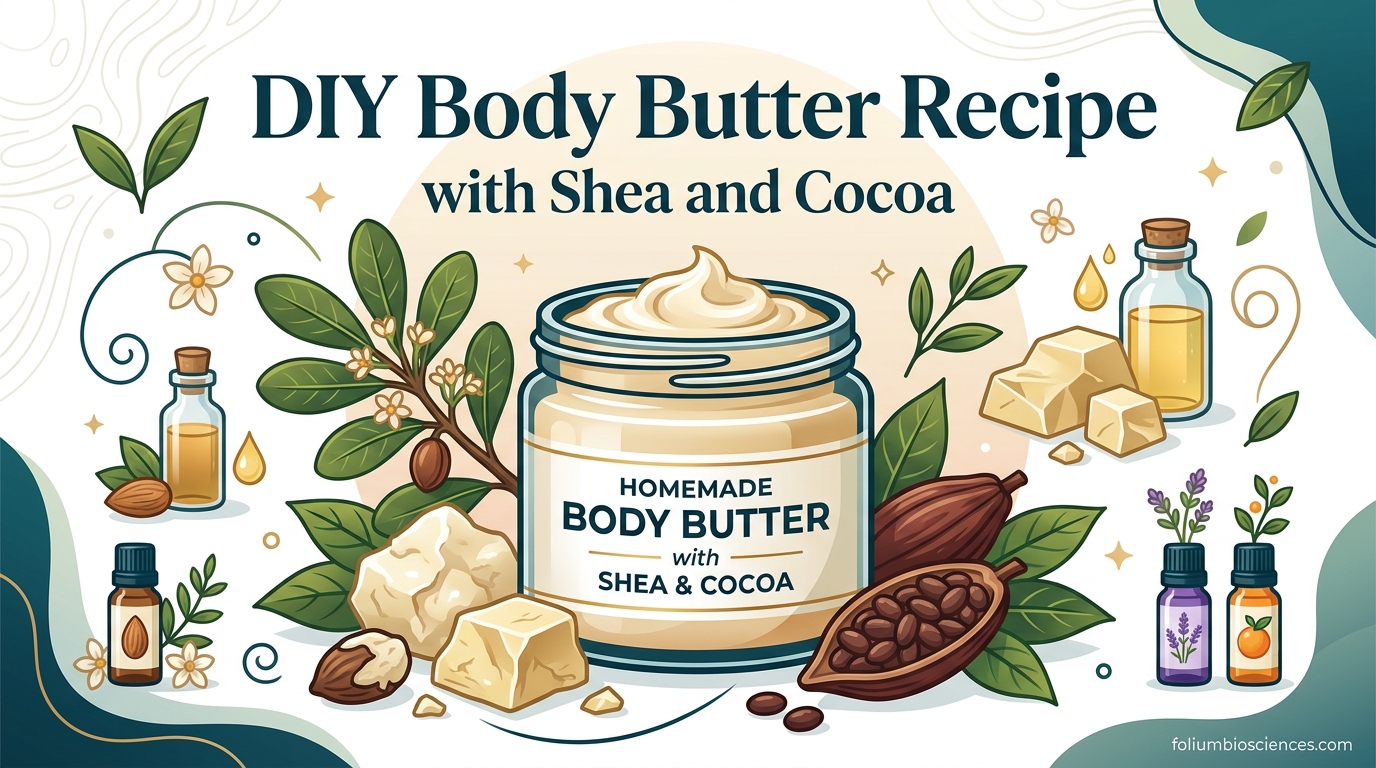
Create spa-quality, luxuriously whipped body butter at home with just five simple ingredients. This step-by-step guide covers everything from ingredient selection to troubleshooting common texture problems.
Table of Contents
What is Body Butter and Why Make Your Own?
Body butter is a thick, deeply moisturizing skin product made entirely from natural butters and oils — no water, no preservatives, and no synthetic additives. Unlike commercial lotions, which are mostly water and contain chemical preservatives to keep them stable, body butter is 100% oil-based. That means every molecule you apply is working to nourish and protect your skin.
When you make body butter at home, you control exactly what goes onto your skin. Store-bought body products frequently contain parabens, phthalates, BHA (butylated hydroxyanisole), and other compounds linked to endocrine disruption and skin irritation. By making it yourself, you eliminate those concerns entirely.
The whip method used in this recipe creates a light, fluffy consistency that spreads easily on the skin while delivering intense hydration. The whipped texture traps air, making the product feel lighter without sacrificing moisture. Your skin absorbs the oils slowly, creating a long-lasting barrier that locks in hydration for hours.
Homemade body butter is also an excellent choice for dry skin, sensitive skin, and baby skin because it contains zero synthetic fragrances or harsh chemicals. You can customize the scent with essential oils, adjust the texture for summer or winter climates, and make it in any quantity — from a small batch for personal use to larger quantities for gifting.
Ingredients Needed
You need just five core ingredients to make professional-quality whipped body butter. Each plays a specific role in achieving the right texture, moisturization, and shelf life.
Core Ingredients
- Shea Butter (1/2 cup) — The foundation of this recipe. Raw, unrefined shea butter is rich in fatty acids (oleic, stearic, palmitic) and vitamins A, E, and F. It has a melting point close to body temperature, meaning it melts on contact with your skin for smooth application. Unrefined shea butter has a distinct nutty aroma; refined shea butter is odorless but slightly less nutritious.
- Cocoa Butter (1/4 cup) — Adds firmness and a rich chocolatey aroma. Cocoa butter is high in antioxidant compounds and creates a protective barrier on the skin. It has a higher melting point than shea butter, giving the final product structural stability so it holds up better in warm weather.
- Coconut Oil (1/4 cup) — Refined coconut oil is used here to add moisture without the strong coconut scent. It contains medium-chain fatty acids (primarily lauric acid) that have antimicrobial properties and help the product glide on smoothly. Fractionated coconut oil stays liquid and can be substituted for a softer texture.
- Sweet Almond Oil (2 tablespoons) — A lightweight carrier oil that prevents the mixture from becoming too heavy or waxy. Sweet almond oil is rich in vitamin E and omega-9 fatty acids, and it absorbs reasonably quickly without leaving a heavy residue.
- Vitamin E Oil (1/2 teaspoon) — Acts as a natural antioxidant and preservative, extending the shelf life of your body butter by preventing the oils from going rancid. It also has skin-beneficial properties, acting as a free-radical scavenger.
Optional Add-Ins
- Arrowroot Powder or Tapioca Starch (1 teaspoon) — The secret to a non-greasy finish. Many people abandon body butter because it leaves an oily sheen. Arrowroot powder absorbs excess surface oils and gives the final product a powdery, velvety feel that absorbs cleanly.
- Essential Oils — Customize the scent and therapeutic properties of your body butter. Lavender, frankincense, ylang-ylang, and citrus oils are popular choices. Always use 1-2% dilution (about 6-12 drops per ounce of product).
- Beeswax (1 teaspoon) — Adds hardness and helps the product hold its shape in warm climates. Use sparingly — too much beeswax makes the product feel heavy and less absorbent.
Whipped Shea and Cocoa Body Butter — Recipe Card
Ingredients
- 1/2 cup (4 oz) unrefined shea butter
- 1/4 cup (2 oz) unrefined cocoa butter
- 1/4 cup (2 oz) refined coconut oil
- 2 tablespoons (1 oz) sweet almond oil
- 1/2 teaspoon vitamin E oil (natural preservative)
- 1 teaspoon arrowroot powder (optional — for non-greasy finish)
- 10-15 drops essential oils of choice (optional)
Equipment
- Double boiler or heat-safe bowl + saucepan
- Glass mixing bowl (large enough for whipping)
- Hand mixer or stand mixer
- Spatula
- Clean, dry glass jar with airtight lid
- Fine-mesh sieve or sifter (for arrowroot powder)
Instructions
- Melt the butters and oils: Add the shea butter, cocoa butter, and coconut oil to the top of a double boiler. Heat over medium-low until completely melted and liquid, stirring occasionally. Do not let any water splash into the oils — this will introduce moisture that causes the butter to grain.
- Add the liquid oils and arrowroot: Remove from heat and let the mixture cool for 2-3 minutes. Stir in the sweet almond oil and vitamin E oil. If using arrowroot powder, sift it through a fine-mesh sieve directly into the mixture and whisk vigorously until fully incorporated — lumps will show up in the final product.
- Chill until firm: Pour the melted mixture into a large glass bowl or the bowl of a stand mixer. Cover loosely and refrigerate for 30-45 minutes. You want the mixture to be firm but still slightly soft — like soft paraffin or the consistency of cool whipped butter. If it goes completely solid, let it sit at room temperature for 5-10 minutes until you can press a finger into it without it cracking.
- Add essential oils and whip: Add your chosen essential oils (if using). Attach the whisk attachment to your mixer. Whip on medium-high speed for 3-5 minutes, pausing to scrape down the sides every minute or so. The mixture should lighten in color, increase in volume by nearly half, and become fluffy and pillowy.
- Transfer and store: Use a spatula to transfer the whipped butter into a clean, dry glass jar with an airtight lid. Press down gently to remove any large air pockets. Seal and store in a cool, dark place.
Tips for Perfect Whipped Texture
Getting that cloud-like, fluffy texture — rather than a grainy, greasy, or rock-solid result — comes down to technique. Here are the key points to remember:
Avoid a Grainy Texture
- Keep water out. Even a small amount of water (from steam or condensation) causes the oils to seize up and go grainy. Use a dry double boiler and never cover the melting mixture while it’s still hot.
- Cool completely before whipping. If the mixture is still warm or partially liquid, the whipping incorporates air into a unstable structure that collapses and turns grainy. The ideal whipping temperature is 60-65°F — firm enough to hold peaks, soft enough to fold cleanly.
- Use a “flash freeze” technique. Place the bowl in the freezer for 15-20 minutes instead of the refrigerator if you are in a hurry. Check every 5 minutes — you want the edges to be firm while the center is still slightly soft.
Avoid a Greasy Finish
- Add arrowroot powder. Sifting 1 teaspoon of arrowroot or tapioca starch into the melted mixture before chilling eliminates excess surface oils and gives a powdery, velvety finish. This is the single most impactful change you can make.
- Adjust your oil ratio. Too much liquid oil (almond, jojoba) leaves a residue. Stick to the 2-tablespoon measurement for sweet almond oil and avoid substituting with heavier oils like olive oil.
- Apply sparingly. A little goes a long way. Start with a dime-sized amount and warm it between your palms before pressing into skin. This method warms the product and helps it absorb instead of sitting on the surface.
Avoid Too Hard or Too Soft
- Summer formula (warm climates): Reduce cocoa butter to 3 tablespoons and add 1 teaspoon of beeswax. This keeps the butter from melting into a puddle in heat.
- Winter formula (cold climates): Increase shea butter to 3/4 cup and add an extra tablespoon of sweet almond oil for a richer, creamier consistency that stays soft in cold dry air.
- If your butter is too hard: Re-whip the contents in the mixer with 1 additional teaspoon of sweet almond oil. Whip for 2 minutes until it lightens.
- If your butter is too soft: Refrigerate the sealed jar for 20 minutes, then whip again for 1-2 minutes. The cold helps the structure firm up.
Recipe Variations
Cocoa Butter Variation
For a deeper, richer chocolate scent, increase cocoa butter to 1/2 cup and reduce shea butter to 1/4 cup. The cocoa butter lends a natural chocolate aroma that pairs beautifully with vanilla essential oil (5-8 drops) and a touch of sweet orange (3-5 drops). This variation is especially nourishing for very dry or cracked skin on heels, elbows, and knees.
Essential Oil Combinations
Essential oils allow you to tailor your body butter for different purposes. Here are tested combinations from the community:
- Relaxing Blend: 8 drops lavender + 5 drops frankincense + 2 drops ylang-ylang. Ideal for bedtime application.
- Uplifting Citrus Blend: 6 drops sweet orange + 5 drops lemon + 3 drops vanilla. Great for morning routines.
- Cooling Muscle Blend: 5 drops peppermint + 4 drops eucalyptus + 3 drops wintergreen. Apply after workouts.
- Sensitive Skin Blend: 6 drops chamomile + 4 drops lavender. Gentle enough for baby skin and reactive skin types.
- Invigorating Blend: 5 drops rosemary + 5 drops grapefruit + 2 drops cedarwood.
Important dilution note: Always use 1-2% essential oil concentration. For an 8-ounce batch (approximately 16 tablespoons), that means no more than 16-32 drops of essential oil total. More is not better — higher concentrations can cause skin irritation or photosensitivity.
Coconut-Free Variation
If you have a coconut allergy or sensitivity, substitute the coconut oil with babassu oil (use 1/4 cup). Babassu has similar skin-feel properties to coconut oil — it absorbs well and has antimicrobial qualities — without triggering coconut allergies. You can also use fractionated MCT oil for a lighter, never-solidifying base.
Added Magnesium Variation
For a therapeutic body butter that may help with muscle soreness and leg cramps, add 1 tablespoon of magnesium chloride flakes (dissolved in 1 teaspoon of warm water) to the melted mixture before chilling. This adds a slight brine scent that pairs well with peppermint essential oil. Note: this variation should be used topically only and is not recommended for those with kidney disease.
Storage and Shelf Life
Homemade body butter is a preservative-free product, so proper storage directly affects how long it remains fresh and effective.
Unrefined shea butter has a natural shelf life of approximately 12-18 months when stored properly. However, once you mix it with other oils, the shelf life is reduced to 3-6 months due to the faster oxidation rate of the blended carrier oils. Adding vitamin E oil extends this to 6-9 months by acting as an antioxidant that protects the oils from going rancid.
Storage guidelines:
- Store in a clean, dry, airtight glass jar. Plastic containers can leach chemicals and trap moisture. Glass is the gold standard.
- Keep in a cool, dark place — not in direct sunlight or near heat sources. Sunlight accelerates oxidation and can melt the butter.
- Use a spatula or spoon to scoop out product rather than sticking your fingers in. Each dip introduces bacteria and moisture that shorten shelf life.
- If you live in a hot climate, refrigerate the body butter during summer months. It will firm up in the refrigerator — let it come to room temperature before applying, as cold butter does not spread smoothly.
Signs your body butter has gone bad: A sharp, metallic, or “off” smell indicates rancidity. Discoloration (dark spots or a yellowed appearance) and an oily liquid separating out at the top are also indicators. When in doubt, discard and make a fresh batch.
Common Troubleshooting
Problem: My body butter turned out grainy
Cause: Water introduced during melting, or the mixture was whipped before it cooled to the right temperature. Fix: Re-melt the entire batch slowly, cool properly, and re-whip. If you used a microwave, switch to a double boiler — microwave heating creates hot spots that can scorch and destabilize the oils.
Problem: My body butter is too greasy and won’t absorb
Cause: Too high a proportion of liquid oils, or applied too thickly. Fix: Re-whip with 1 teaspoon of arrowroot powder folded in. Make sure you are applying to damp skin (right after showering) and using a small amount — warm it between your palms first.
Problem: My body butter is rock solid and won’t scoop
Cause: Too much beeswax or cocoa butter, or stored in too cold an environment. Fix: If stored in the refrigerator, move to room temperature and let it sit for 30 minutes. If still too firm, re-whip with 1-2 teaspoons of sweet almond oil to soften.
Problem: The oils are separating and pooling at the top
Cause: The mixture cooled too quickly or was not whipped thoroughly enough to create an emulsion. Fix: Re-melt, cool to the proper temperature (60-65°F), and whip again for a full 5 minutes, making sure to scrape down the sides throughout.
Problem: My body butter melted in the heat
Cause: The formula is too soft for warm temperatures. Coconut oil and shea butter both melt around 75-95°F. Fix: Adjust your formula for warm weather — use 3 tablespoons cocoa butter, 1 teaspoon beeswax, and reduce sweet almond oil to 1 tablespoon. Store in the coolest room of your home, and consider a dark glass jar that provides some insulation.